
Removal is a phase, not an afterthought
Every landscape renovation starts by taking something out. The old lawn that never recovered. A cracked concrete patio. Pavers that have heaved. Decorative rock somebody chose in 1998. A retaining wall that’s leaning.
Doing that removal carelessly makes everything afterward harder and more expensive, which is why we treat demolition as a real phase with its own scope rather than something to rush through on day one.
Before anything moves: mark what stays
This is the step that separates a clean demolition from an expensive one.
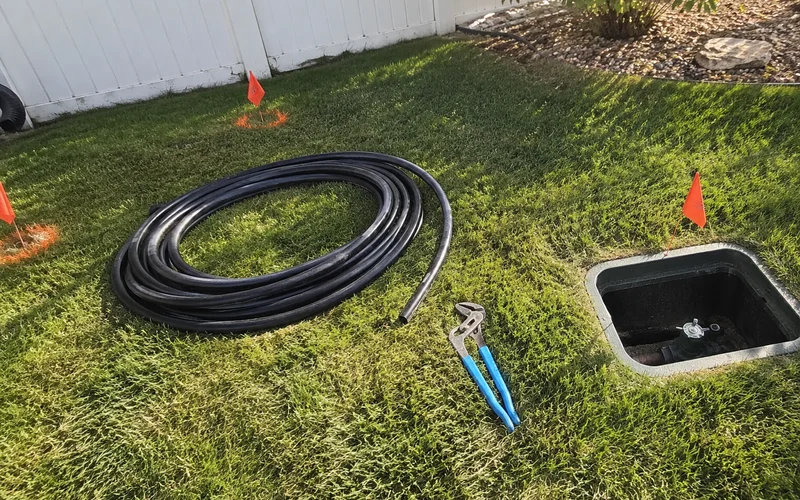
Sprinkler heads, valve boxes and control wiring get located and flagged. Irrigation runs shallower than people expect, and a mainline cut mid-demolition means a repair, a delay and a wet job site.
Utilities. Public locates where required, plus anything private. On rural lots especially there are often lines nobody has a record of, so we ask what you know and work carefully in those areas.
Low-voltage lighting and pet fencing. Shallow, easy to cut, and invisible.
Planting that’s staying. Mature trees and established shrubs worth keeping get identified and their root zones protected from machine traffic.
Access routes. Driveways and surfaces we’ll be crossing get protection where they need it.
What comes out
Turf. Cut with a sod cutter, rolled and loaded. Far cleaner than tilling it under, which just buries the problem and lets the old grass regrow through the new bed.
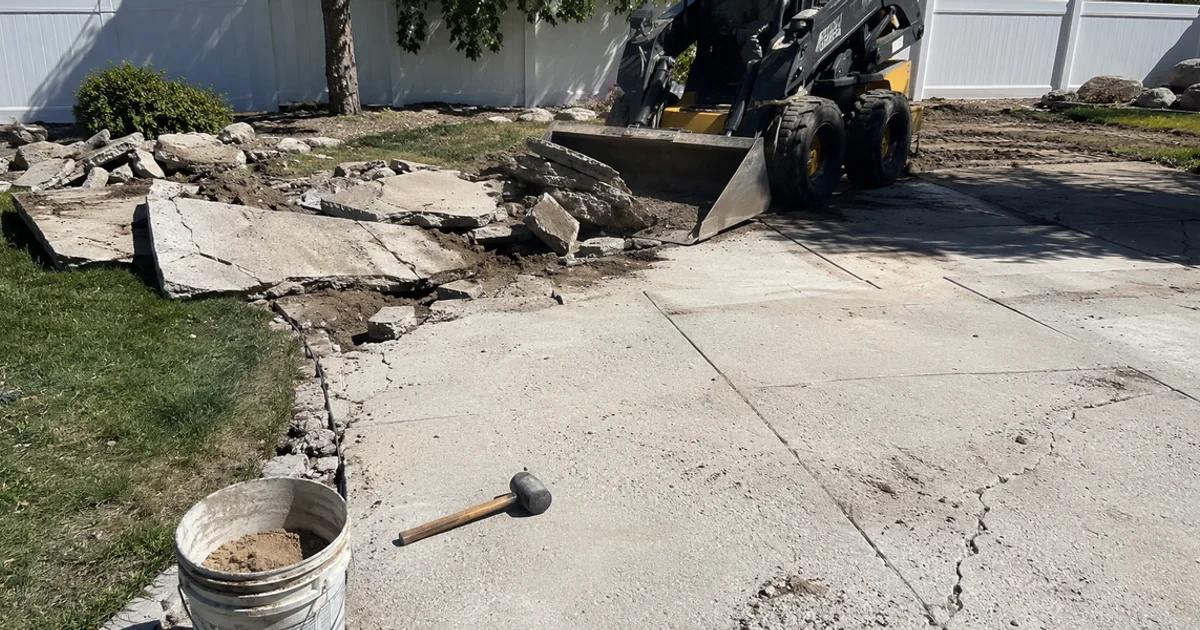
Concrete. Slabs, patios, walkways and old driveways. Reinforced concrete takes considerably more work to break and weighs a lot more to haul, which is why we assess it on site rather than quoting from a photo.
Pavers and flagstone. Lifted rather than broken, and worth telling us if you want to keep any for reuse elsewhere.
Rock and bark. Old decorative surfaces, along with the degraded fabric underneath.
Edging. Particularly old poly edging that’s lifted out of the ground.
Structures. Old sheds, fence lines, failing retaining walls.
Salvage is worth asking about
Decorative rock, pavers and flagstone all have reuse value. Tell us before we start and we’ll stack it somewhere out of the way instead of loading it. It’s free material for a future project.
Disposal
Everything leaves with us and goes to appropriate disposal, with concrete, green waste and general debris handled separately.
Disposal volume and weight is a genuine cost and it appears as a line item on your estimate rather than turning up at the end. Concrete in particular is heavy, and a large slab removal has real disposal expense behind it.
We don’t leave piles. One customer hired us after another contractor abandoned three tons of debris on their property, and we hauled it. That’s a story we’d rather tell than star in.
Then: look at the ground
With the old surface off, the property becomes readable for the first time in years. You can see the actual grade, where water has been running, what the soil is like, and what the previous work was hiding.
This is the highest-value moment in a renovation and the one most often wasted. Correcting drainage now, while everything is open, costs a fraction of what it costs after the new surface is down.
Grading follows demolition in nearly every renovation we do, for exactly that reason.
Sequencing into the new install
The order that works: demolition, grading and drainage, irrigation adjustments, hardscape, soil and sod, then planting and finishing.
Because we handle all of those phases, the site condition we leave at the end of demolition is the condition the next phase needs. There’s no handover gap, no second mobilisation, and nobody arriving to find the previous trade left them a problem.